In this articleShowHide
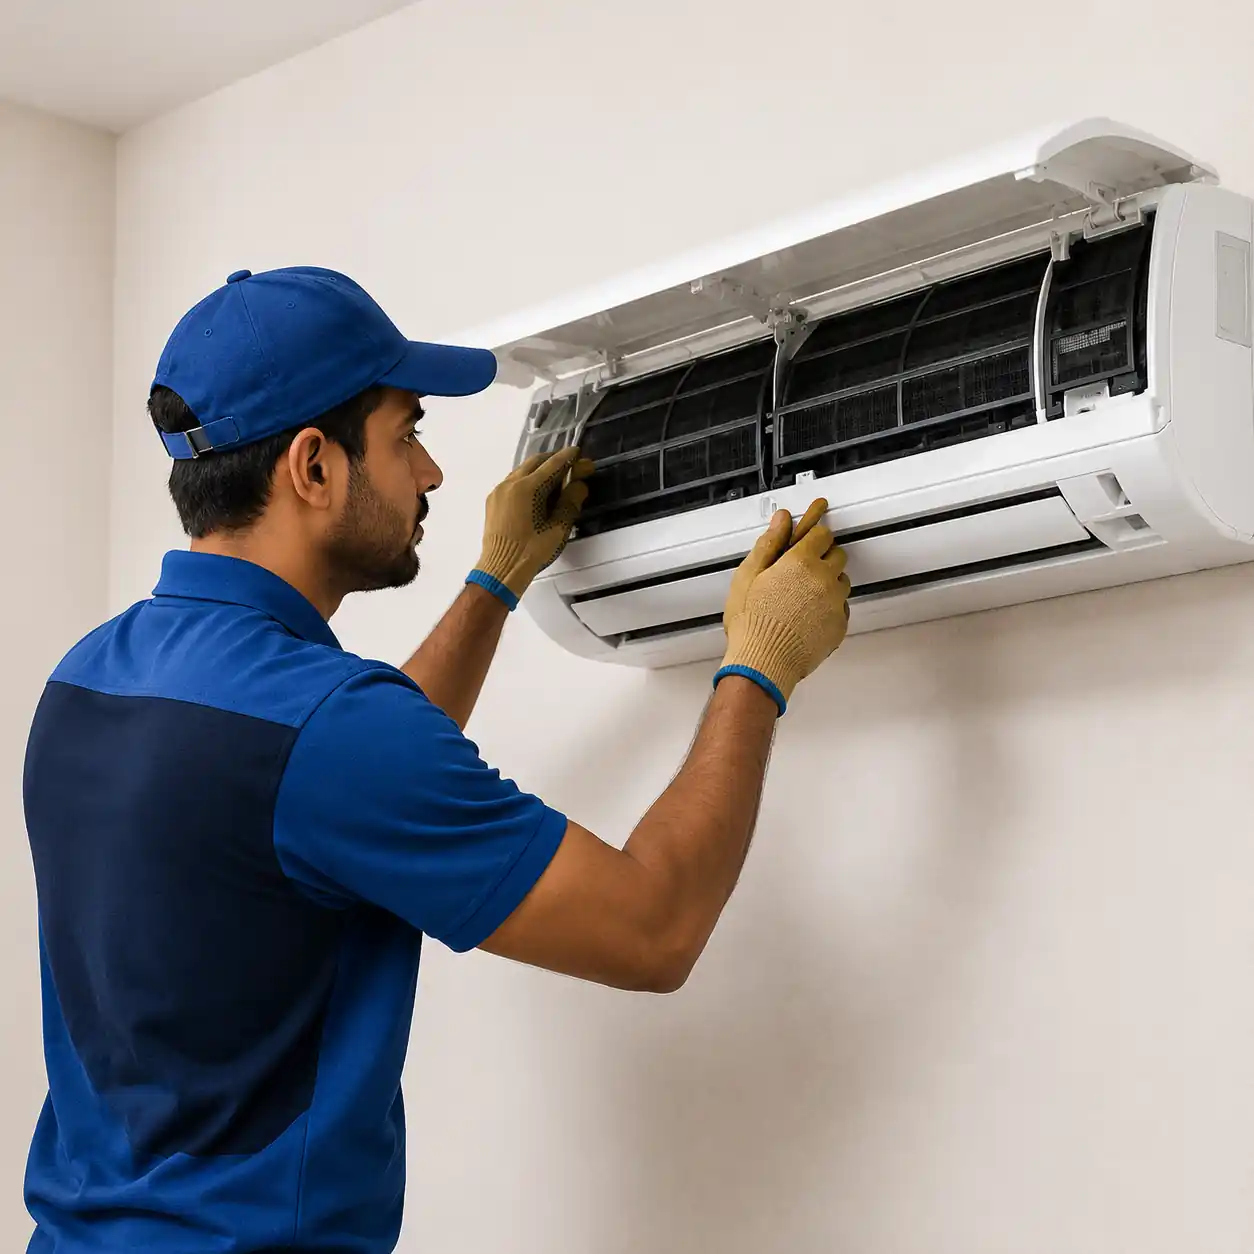
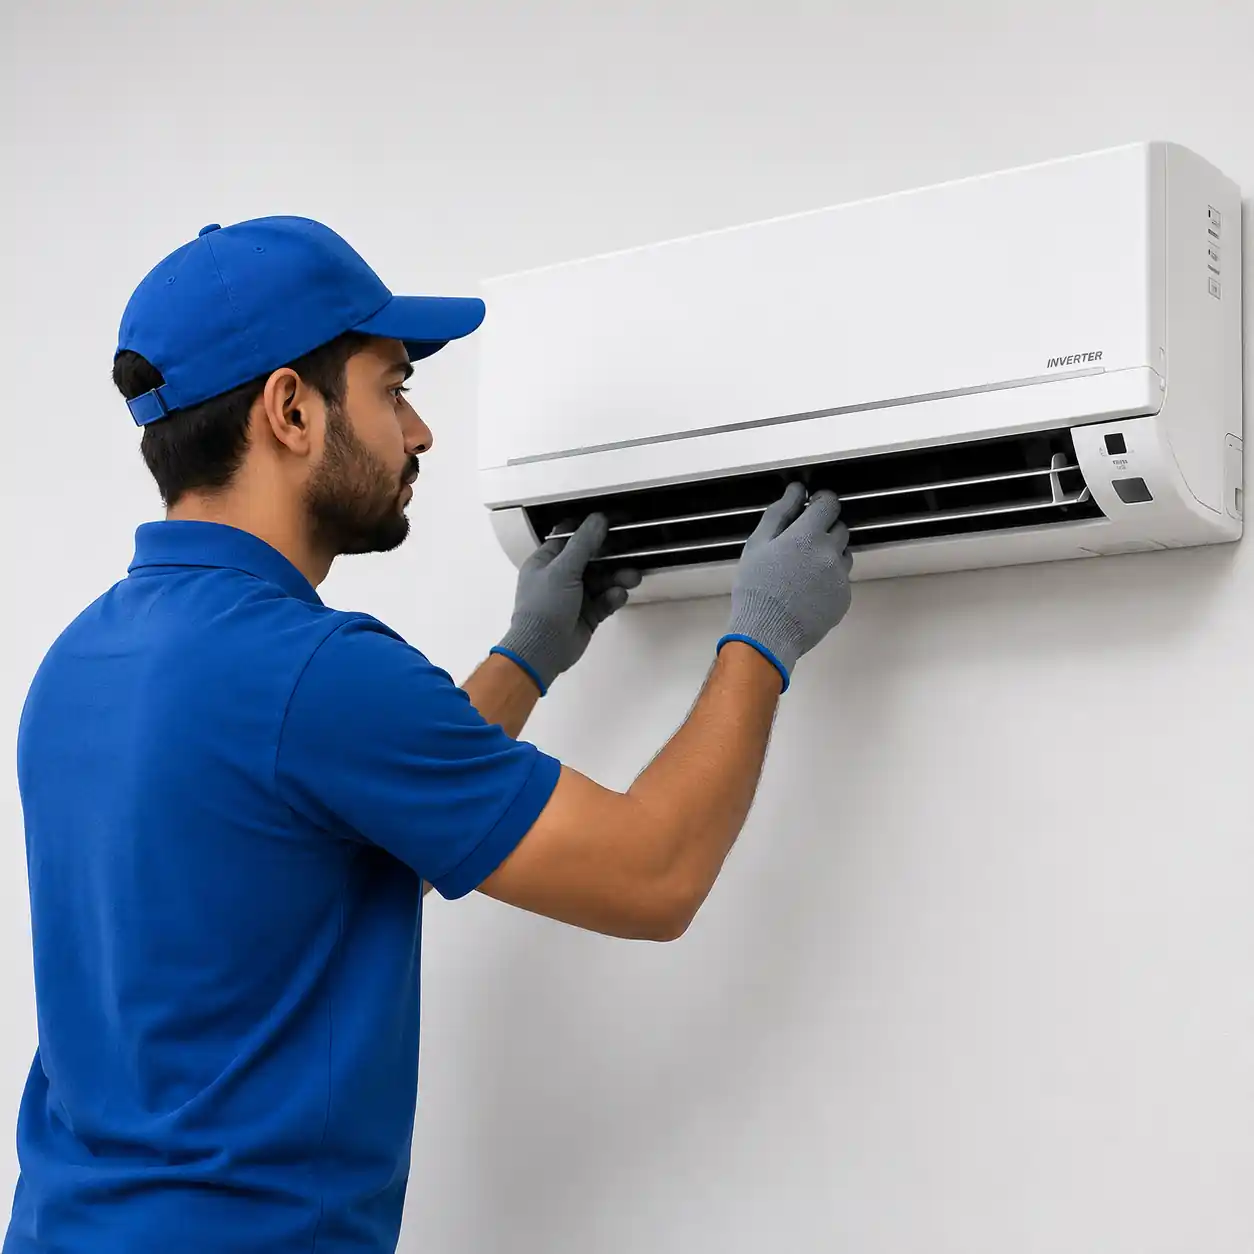
A new AC is only as good as its fitting. Most of the faults we see in a split AC's first year — water dripping indoors, weak cooling, noisy outdoor units and gas leaks at the joints — trace back to a rushed split AC installation, not to the machine itself. The good news is that every one of them is avoidable if the job is planned and done in the right order.
Use this checklist whether you have just bought a new unit or are moving an old one. It covers what to decide before the technician arrives, what should happen during the AC installation, and the checks to insist on before you sign off.
Before installation: plan the basics
1. Choose the right tonnage for the room
An undersized AC runs flat out all afternoon and still leaves the room warm; an oversized one cools quickly, switches off, and leaves the air clammy because it never runs long enough to remove moisture. Room size is the starting point, but in Odisha the heat load around the room matters just as much.
| Room size | Typical tonnage | Go one size up if… |
|---|---|---|
| Up to about 120 sq ft | 1 ton | Top floor or west-facing wall |
| About 120–180 sq ft | 1.5 ton | Large windows, 3+ people regularly |
| About 180–250 sq ft | 2 ton | Open to a kitchen or poorly insulated roof |
| Above 250 sq ft or open-plan | Assess on site | Consider multiple units or a different AC type |
Treat the table as a starting point, not a rule. A 150 sq ft bedroom under a bare concrete roof in Bhubaneswar can need more capacity than a 180 sq ft room on a middle floor. If you are unsure, ask for a site assessment before buying.
2. Check the electrical supply
A split AC should have its own properly rated MCB and a dedicated point, not a shared extension or a thin wire run from the nearest socket. In areas with frequent voltage fluctuation, a voltage stabiliser suited to the AC's rating protects the compressor and PCB — many inverter models have a wide operating range, but check what your manufacturer recommends.
3. Plan the indoor unit position
- Mount it on a strong wall, ideally an outer wall so the pipe run to the outdoor unit is short.
- Leave clearance above the unit (about 15 cm or as the manual specifies) for air intake and servicing.
- Avoid placing it directly above a bed, TV or wardrobe where a drip would cause damage.
- Keep it away from direct sunlight and heat sources such as a kitchen doorway.
- Aim the airflow down the length of the room, not straight at a wall a metre away.
4. Plan the outdoor unit placement
Good outdoor unit placement is the most overlooked part of an installation. The outdoor unit throws heat out of your home; if it cannot breathe, cooling drops every afternoon. Choose a spot with open space in front of the fan and a gap behind the coil, shaded if possible, and where a technician can reach it safely for servicing. Avoid enclosed balcony corners, spots under a tin sheet that heats up, and positions where the hot discharge blows into a neighbour's window.
Coastal and dusty locations
In Puri and other coastal areas, salty air corrodes the condenser fins faster, so pick a sheltered wall where possible and plan for regular outdoor coil washing. Near main roads or construction, raise the unit off the ground to reduce dust intake.
During split AC installation: the steps that matter
5. Level, secure mounting
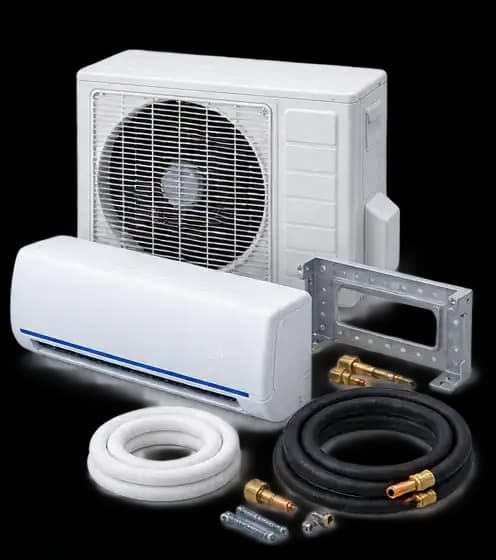
The indoor mounting plate should be level or very slightly tilted towards the drain side so water flows out instead of pooling. The outdoor unit should sit on a rigid stand or wall bracket bolted firmly, with rubber pads to reduce vibration. A shaky bracket means noise, and in strong monsoon winds, a real safety risk.
6. Correct pipe length, bends and insulation
Copper pipes should be as short as the layout allows, with smooth bends rather than kinks, which restrict refrigerant flow. Both the suction and liquid lines need full-length insulation, taped properly at the joints. Bare or torn insulation sweats in humid weather and drips down your wall.
7. A proper drain slope
The drain pipe must slope steadily downwards all the way out, with no loops or upward sections. A drain pipe that sags or runs uphill is the most common reason for a new AC dripping indoors — our article on AC water leakage shows how much trouble this causes later.
8. Leak-free flare joints
The flare joints connecting the pipes to the indoor and outdoor units are where most installation gas leaks start. They should be cut and flared cleanly with the right tools and tightened to the correct torque — not too loose, not over-tightened to the point of cracking the flare.
9. Vacuuming before gas charging
This is the step that separates a careful installation from a quick one. Once the pipes are connected, a vacuum pump is attached to pull air and moisture out of the pipes and indoor coil before the refrigerant held in the outdoor unit is released. Skipping vacuuming, or simply purging with refrigerant, leaves moisture in the system. In humid Odisha weather that moisture is almost guaranteed, and over time it can damage the compressor and restrict refrigerant flow.
Ask to see the vacuum pump
Before the valves are opened, ask the technician whether the system has been vacuumed and leak-checked. If no vacuum pump was used, the job is not finished.
10. Gas charge as per pipe length
The outdoor unit comes pre-charged for a standard pipe length. If the run is longer, extra refrigerant may be needed, measured by weight or pressure as the manufacturer specifies. Too little gas reduces cooling; too much strains the compressor. Read more about how charging works in our AC gas filling guide.
After installation: test before you sign off
11. Run and measure
- Run the AC on Cool for at least 15–20 minutes with the room closed.
- Check that cold air comes from the vents and the outdoor fan and compressor are running.
- Feel both copper pipes at the outdoor unit — the thicker suction line should be cool.
- Check flare joints for any oil marks or hissing.
- Pour a little water into the indoor tray, or watch the drain, to confirm it flows outside.
- Test the remote: modes, fan speeds, swing and timer.
12. Tidy finish and handover
The wall hole should be sealed against rain and insects, pipes clamped neatly along the wall, and debris cleared. Keep the installation manual and note the date — it helps schedule the first AC service a few months later.
Moving or replacing an existing split AC
Shifting an AC to a new room or home needs the same care: pumping refrigerant down into the outdoor unit before disconnecting, capping pipes so dust and moisture stay out, and vacuuming again at the new site. Our AC relocation service covers removal and full reinstallation. Inverter units follow the same steps; see the inverter AC page for model-specific care.
If you are searching for AC installation near me in Bhubaneswar, Cuttack or Khordha, Paras Refrigeration installs split ACs from all major brands. We confirm the plan and cost before work begins, and parts such as extra copper pipe or refrigerant are quoted separately.
Frequently asked questions
Paras Refrigeration Service Team
AC service technicians, Bhubaneswar · Last reviewed 5 Oct 2026
Written by the Paras Refrigeration service team from day-to-day experience repairing, installing and maintaining residential and commercial AC systems across Bhubaneswar, Cuttack, Puri and Khordha.
- #AC installation
- #Split AC
- #Checklist
- #New AC